Preparation
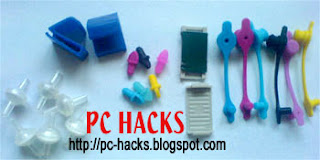
You will need a syringe that can be bought from any Mercury drug store. One syringe is enough. Below is a photo of the accessories that should come with your CISS.
Ink Filling
You need to extract only 60ml of ink into the syringe and start filling each tank with the appropriate ink. (just wash the syringe for each ink transfer)
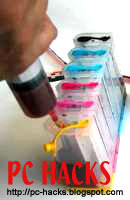
Once the tanks are filled, close the ink hole with the rubber stopper (they are color coded anyway) then lay the tanks in such a way that the air hole is above the ink hole. Now is the time for you to insert the syringe in the air hole and start sucking air slowly. You will notice that the ink from the tank will flow automatically to the cartridges. Please ensure that the smaller rubber stopper are already in place on the cartridges. (see the below picture)
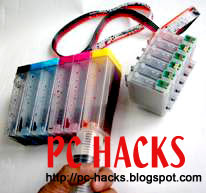
Once done, just close the air hole or place the air filter on each hole.
CISS Installation
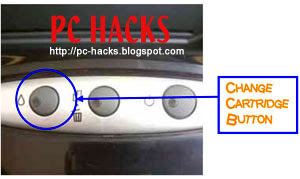
Turn on your printer and press the cartridge change button as shown on the picture below. The cartridge holder will move into the middle of the printer. With the power still on, remove the power cable from the back of the printer. This will allow the printer head to move freely back and forth in the printer.
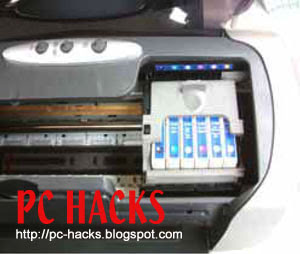
Open that cartridge holder and remove the current cartridges from the printer. Insert the CISS cartridges into your printer. PLEASE ENSURE THAT THE CARTRIDGES ARE PLACED IN THE CORRECT COLOR CARTRIDGE HOLDER.
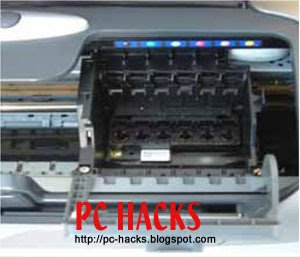
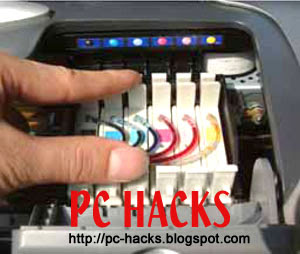
Close the cartridge holder ensuring not to twist any of the tubing.
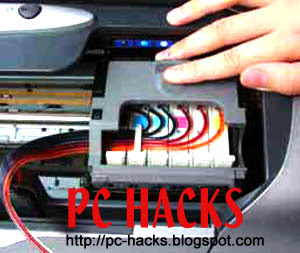
Place the tube clip onto the front of the printer. It should be placed so that the back of the clip is slotted into the groove of the CD printing tray. Be careful not to twist the tubing in any way.

Adjustments to the tube length may be required. To check this, move the cartridge holder left and right to each end of the printer. It should reach both ends with ease. Check that the tubing is neither too long nor to short. The tubing should not interfere with the printer data wire nor should it fall down into the paper support
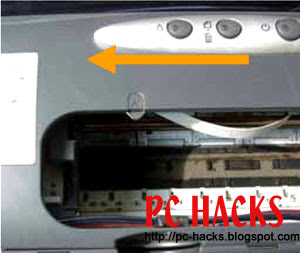
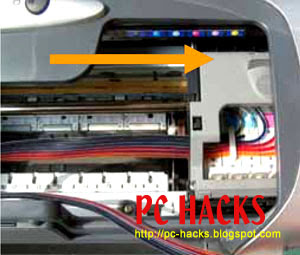
If required, adjust the tube length by gently pulling the tubing thru the clip in the direction required.
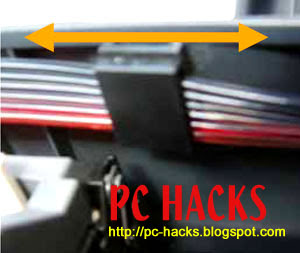
Run the tubing along the inside of the printer as shown below. Remove the backing to the tape on the clip assembly (see the accessories pic) and place it like shown below.
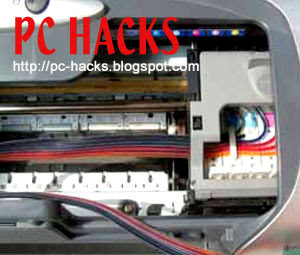
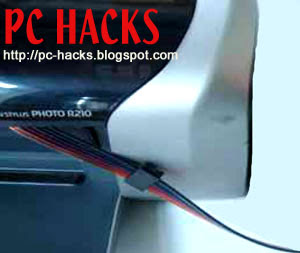
Reconnect the power cable to the rear of your printer and perform a head clean and nozzle check. Please bear in mind that this may need to be performed several times until you get a good test print.
CAUTION: DO NOT PLACE THE TANKS HIGHER OR LOWER THAN THE PRINTER. This will affect the ink flow and may cause ink flooding.
I hope this is easy enough for you.
1 comment:
Look here
Post a Comment